Get Ready to Indulge!
Ever tasted a snack that’s as satisfying as biting into creamy peanut butter but feels like a guilty pleasure? Let me introduce you to Easy No Bake Peanut Butter Oat Cups! These delightful treats whip up in no time and require minimal effort—meaning you can enjoy these sweet, nutty cups without even turning on the oven. They’re the perfect fusion of healthy and indulgent, making them a crowd-pleaser for any occasion.
Why Make This Recipe
Why should you add these little gems to your recipe rotation? Here are a few reasons:
- Minimal Cleanup: Who’s got time to wash a million dishes? Just one bowl and a spatula will do!
- Affordability: With just a handful of ingredients, you won’t break the bank making these beauties!
- Kid-Approved: Family favorites often come from the simplest recipes. Trust me, kids will love these oat cups—bonus points if they help make them!
Ingredients
You don’t need fancy stuff — just these basics!
- 1 cup of rolled oats
- 1/2 cup of creamy peanut butter
- 1/3 cup of honey
- 1/4 cup of chocolate chips (optional)
- Pinch of salt
- 1 teaspoon of vanilla extract
Directions
No-bake recipes are where the magic happens without the heat! Follow these easy steps:
- Mix Ingredients: In a mixing bowl, combine oats, peanut butter, honey, and a pinch of salt. Stir until everything is well incorporated.
- Add Vanilla: Toss in vanilla extract and stir again until the mixture is smooth and creamy.
- Chocolate Chips: If you’re feeling adventurous, fold in those chocolate chips now!
- Press Into Molds: Use a muffin tin or silicone molds to press the mixture down firmly.
- Chill: Refrigerate for at least one hour until they firm up.
- Enjoy: Pop them out and savor each bite!
How to Make Easy No Bake Peanut Butter Oat Cups (Overview)
Making these oat cups is a breeze! You’ll mix everything in just one bowl—can it get any easier than that? Just remember to press firmly while filling the molds to ensure they hold their shape. Want a pro tip? Let the oat mixture sit for a couple of minutes before pressing, as it helps blend the flavors even better.
How to Serve Easy No Bake Peanut Butter Oat Cups
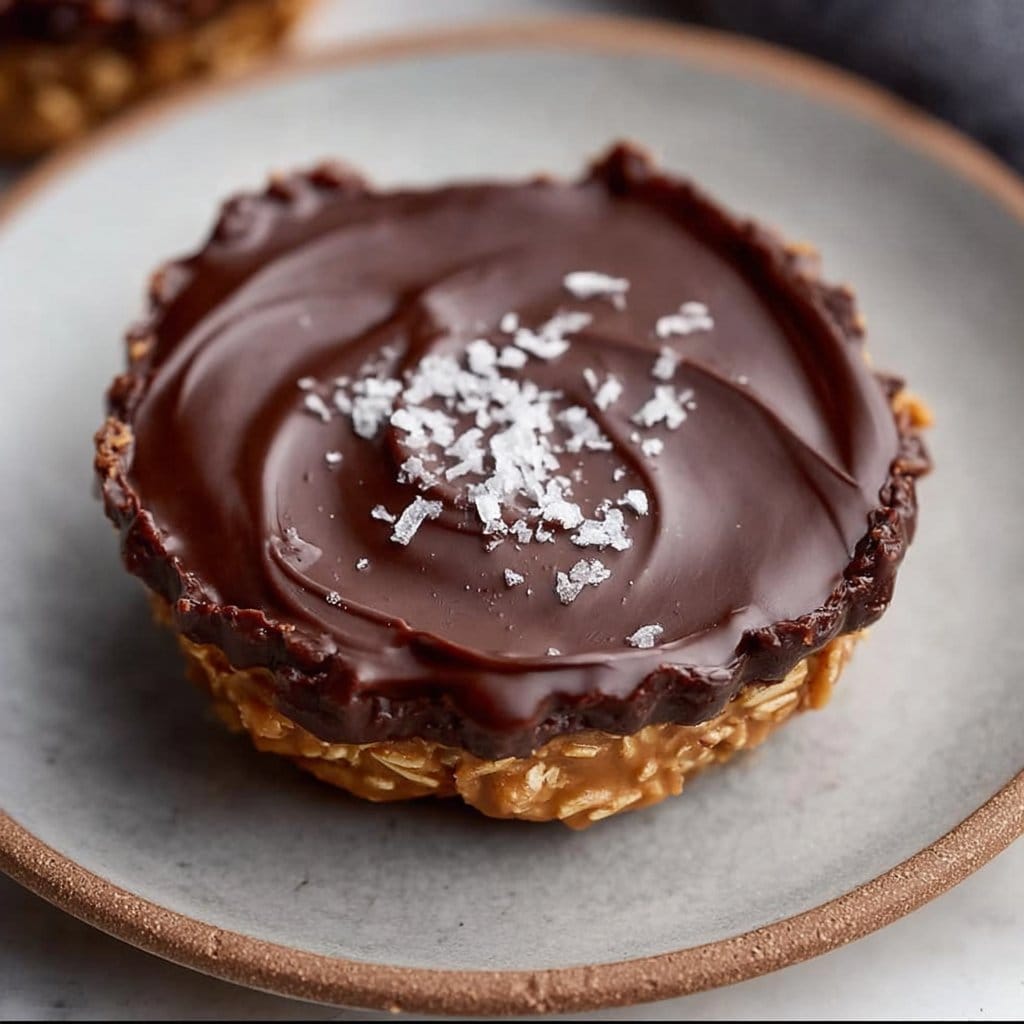
Think of serving these delightful cups as a showstopper at your next gathering! Stack them high on a pretty platter or serve them individually on colorful cupcake liners. Picture the gorgeous contrast of the golden oats against the rich dark chocolate, all while you bask in the delicious peanut buttery aroma rising up around you. Yum!
How to Store Easy No Bake Peanut Butter Oat Cups
These cups have a magical staying power! Keep them in an airtight container in the fridge for up to one week. You can also freeze them for up to three months—they make an ideal quick snack! Just let them thaw for a bit before munching.
Tips to Make Easy No Bake Peanut Butter Oat Cups
- Oats Choice: Use quick oats for a softer texture or rolled oats for a chewy bite.
- Peanut Butter Swaps: Don’t have peanut butter? Try almond butter or sun butter for a twist!
- Chill Time: For best results, let them chill longer. Seriously, patience pays off here!
- Add Mix-ins: Want a flavor boost? Consider adding a handful of chopped nuts, dried fruits, or a sprinkle of cinnamon.
Variation
Feeling adventurous? Make it vegan by swapping out honey for maple syrup. Want to indulge? Add a layer of melted dark chocolate on the top for a decadent twist.
FAQs
Can I use crunchy peanut butter instead of creamy?
Absolutely! Crunchy peanut butter adds a delightful texture.
How long do these oat cups last in the fridge?
You can keep them for up to a week in the fridge in an airtight container.
Can I make these ahead of time?
You bet! They’re perfect for meal prep—just whip them up over the weekend and enjoy them all week long.
📌 Pin this recipe for your next cozy dinner night!

Easy No Bake Peanut Butter Oat Cups
Ingredients
Method
- In a mixing bowl, combine oats, peanut butter, honey, and a pinch of salt. Stir until everything is well incorporated.
- Add the vanilla extract to the mixture and stir again until smooth and creamy.
- If desired, fold in the chocolate chips to the mixture.
- Using a muffin tin or silicone molds, press the mixture down firmly.
- Refrigerate the cups for at least one hour until they firm up.
- Once set, pop them out of the molds and savor each bite.

