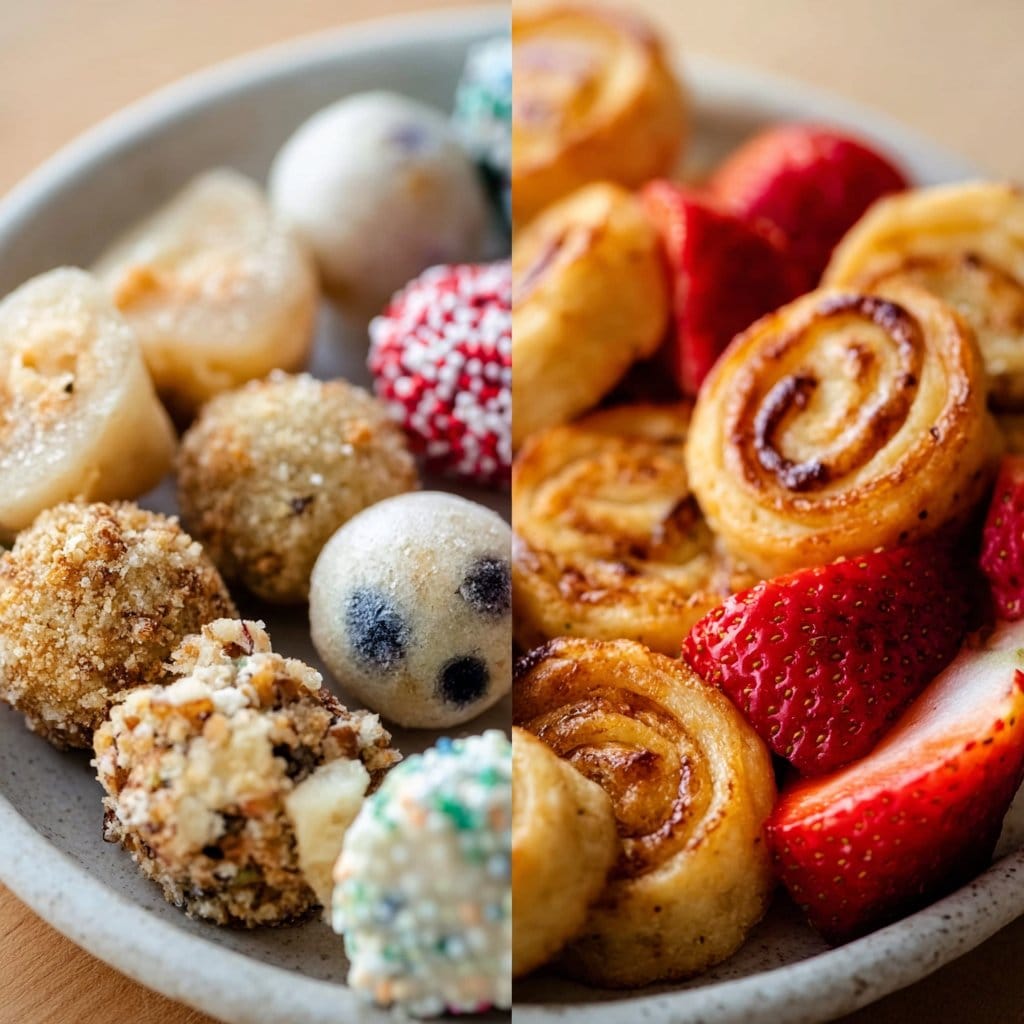
Who doesn’t love snacks that are healthy and tasty?
Imagine crunchy bites bursting with flavor, all while being incredibly simple to make! 🥳 These Homemade Toddler Snacks are not just quick; they’re packed with nourishing ingredients that even the pickiest eaters will love. Seriously, they’re so good, you might need to hide some for yourself!
Why make this recipe
You’ll love whipping these up for your little ones—and here’s why:
- Easy cleanup: One bowl, folks! Less time washing up means more time enjoying those precious toddler giggles.
- Affordable goodness: These snacks are wallet-friendly! You probably have everything you need hanging out in your pantry already.
- Family-approved: Who doesn’t want a snack that pleases both tiny taste buds and grown-up cravings? It’s a win-win!
Ingredients
You don’t need fancy stuff — just these basics!
- 1 cup oats
- 1 ripe banana
- 1/4 cup peanut butter
- 1/4 cup honey or maple syrup
- 1/2 cup mini chocolate chips or dried fruit (optional)
Directions
Ready to dive in? Here’s how easy it is:
- In a mixing bowl, mash the banana until smooth.
- Add the oats, peanut butter, and honey or maple syrup. Mix until everything’s well combined.
- If you’re feeling indulgent, fold in mini chocolate chips or dried fruit.
- Scoop tablespoon-sized portions and shape them into small balls or press them into a baking dish for bars.
- Refrigerate for at least 30 minutes before serving. Trust me, this step is key!
How to make Homemade Toddler Snacks (Overview)
Creating these toddler-friendly bites is straightforward:
- First, mash that banana—think of it as a mini workout for your wrist. 🍌
- Mix together your ingredients, making sure they blend like a happy family reunion.
- Shape them up like little snacks from heaven and let them chill in the fridge. Pro tip: The longer they cool, the easier they’ll be to munch on later!
How to serve Homemade Toddler Snacks
Serving suggestions are where the fun begins!
- Present them as cute little snack balls or slice them into bars for that appealing lunchbox look.
- Pair them with a splash of yogurt or some fresh fruit. Just picture it: colorful, crunchy, and oh-so-satisfying!
How to store Homemade Toddler Snacks
These delicious bites stay fresh in the fridge for about a week. Feel free to freeze them for later—who doesn’t love a homemade snack ready to go? 🥶 Just let them defrost before serving, and they’ll taste just as delightful!
Tips to make Homemade Toddler Snacks
Here are a few quick insider tricks:
- Timing is everything: Let your toddler help mash the banana—fun for them, and it’ll keep them entertained while you whip up the mix.
- Ingredient swaps: Swap peanut butter with almond butter for a nut-free adventure (if allergies are a concern).
- Textures matter: If your child prefers a different texture, try adding crushed nuts for a bit of crunch!
Variation
Want to switch things up? Try:
- Flavor twists: Add a dash of cinnamon or vanilla extract for a warm aroma.
- Make it vegan: Swap honey for maple syrup for a plant-based treat.
- Mix-in ideas: Toss in ground flaxseed or chia seeds for an extra health boost!
FAQs
Can I substitute the peanut butter?
Absolutely! Use almond butter or sunflower seed butter for a nut-free version.
How long do these snacks last?
They keep well in the fridge for about a week or freeze perfectly for up to a month.
Can I make these snacks ahead of time?
You bet! Prep them a day or two in advance and store them in the fridge or freezer for easy snacking later.
Want to make snack time fun and healthy? Give these a go and watch your kids devour them! 📌 Pin this recipe for your next cozy dinner night!

Homemade Toddler Snacks
Ingredients
Method
- In a mixing bowl, mash the banana until smooth.
- Add the oats, peanut butter, and honey or maple syrup. Mix until everything’s well combined.
- If you’re feeling indulgent, fold in mini chocolate chips or dried fruit.
- Scoop tablespoon-sized portions and shape them into small balls or press them into a baking dish for bars.
- Refrigerate for at least 30 minutes before serving.

