Why Make This Recipe
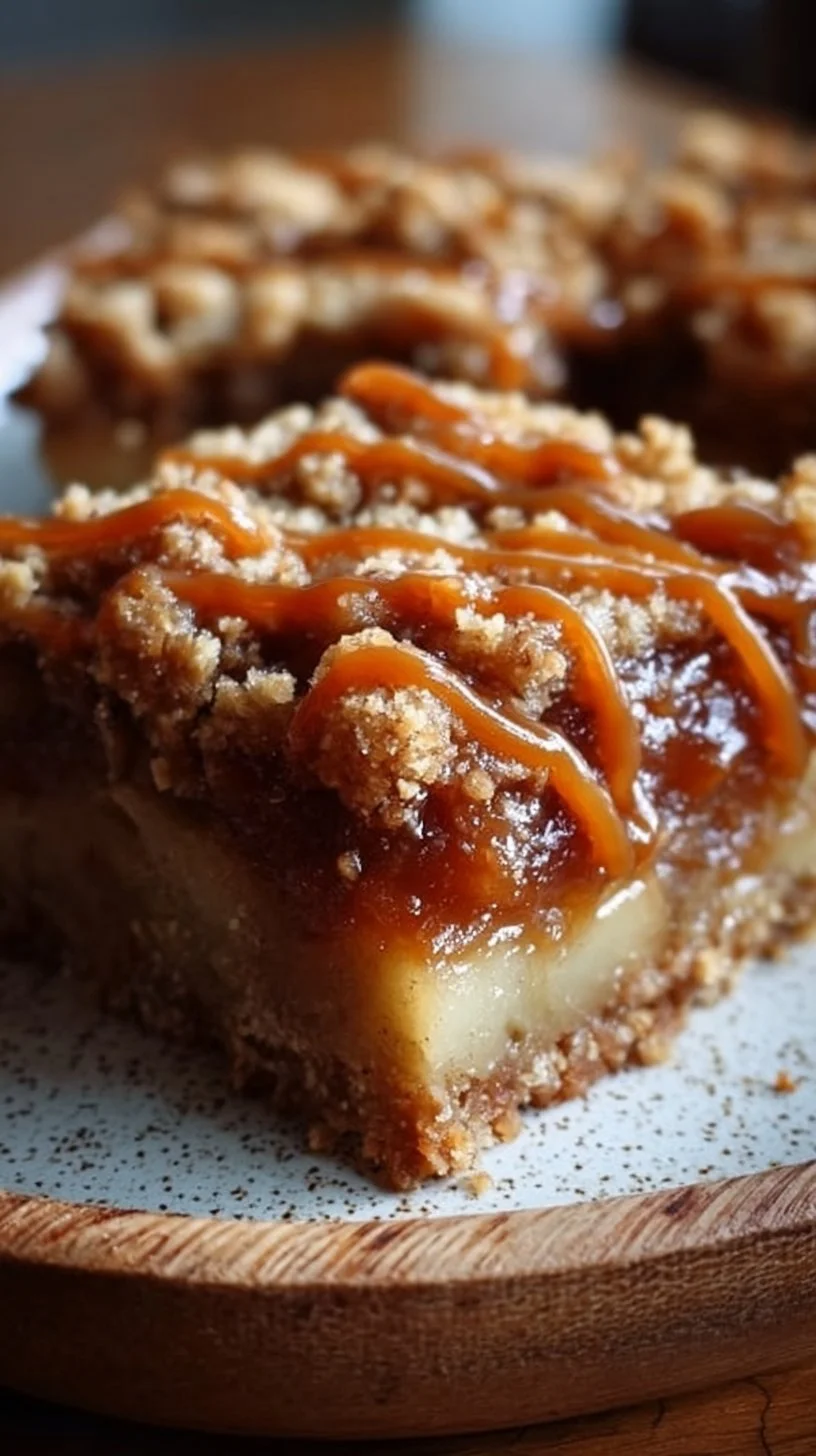
Imagine biting into a warm, gooey bar packed with heavenly salted caramel, tender apples, and a crispy crumble topping. Sounds amazing, right? That’s exactly what you get with these Salted Caramel Apple Crumble Bars. Not to mention, they’re super easy to whip up in just 45 minutes. Perfect for when the fall vibes kick in and you want something cozy to enjoy with your coffee or impress your friends. 🍏✨
These bars are not just a treat; they’re an experience. The balance of sweet and salty will have you hooked, and let’s be honest—who doesn’t love a good crumble? You’ll find yourself making these again and again!
How to Make Salted Caramel Apple Crumble Bars Fall Treat: Get Addicted in 45 Min
Let’s get down to business! Making these bars is as easy as pie (but way less messy). Here’s how you can turn your kitchen into a little slice of fall heaven:
- Preheat your oven to 375°F (190°C).
- Grab a 9×13 inch baking pan and line it with parchment paper for easy cleanup. Trust me, it’s worth it!
- In a large mixing bowl, combine melted butter, sugar, vanilla extract, and salt.
- Slowly add flour and stir until you get a crumbly mix. Pro tip: You might want to use your hands to get those perfect crumbs!
- Press about two-thirds of this mixture evenly into the bottom of your prepared pan. No need to be perfect here; just make sure it’s pretty even.
- In a separate bowl, toss your sliced apples with cinnamon and nutmeg. Spread this delicious mix over your crust.
- Drizzle that luscious salted caramel sauce right on top of the apples. Feeling like a caramel drizzle master yet?
- Crumble the remaining mixture over the top for a perfect finish.
- Bake for 40-45 minutes until the topping turns golden brown and the apples feel tender.
- Let them cool completely in the pan before you slice them into bars. Patience is key here—your stomach will thank you later!
Ingredients
- 1 cup (2 sticks) unsalted butter, melted
- 1 1/2 cups granulated sugar
- 1 teaspoon vanilla extract
- 1/2 teaspoon salt
- 2 1/2 cups all-purpose flour
- 3 cups peeled and thinly sliced apples (about 3 medium)
- 1/2 cup salted caramel sauce
- 1 teaspoon ground cinnamon
- 1/4 teaspoon ground nutmeg
How to Serve Salted Caramel Apple Crumble Bars Fall Treat: Get Addicted in 45 Min
These bars shine when served warm. Plate them up and maybe drizzle a little extra caramel sauce on top for an Instagram-worthy presentation. You could even add a scoop of vanilla ice cream (because who doesn’t love a la mode?) or some whipped cream for an indulgent treat. There’s no wrong way to enjoy these beauties! 🎉
How to Store Salted Caramel Apple Crumble Bars Fall Treat: Get Addicted in 45 Min
You can keep these bars fresh and delicious! Store them in an airtight container at room temperature for up to three days. If you need to keep them for longer, pop them in the fridge, where they’ll last up to a week. Just remember to allow them to come back to room temperature before devouring—nothing like a cozy bar on a chilly day!
Tips to Make Salted Caramel Apple Crumble Bars Fall Treat: Get Addicted in 45 Min
- For that extra crunch, consider adding nuts (like pecans or walnuts) to the crumble mix.
- Feel extra fancy? Use a mix of different apple varieties for unique flavors and textures.
- If you love more caramel (who doesn’t?), don’t be shy—add a little more between the apple layer and topping.
Variation
Wanna switch things up? Try adding some cranberries for a tart punch or a handful of oats for a heartier crumble. You can even throw in some chocolate chips if you’re in the mood for a sweet twist on a classic. The possibilities are endless!
FAQs
Can I use other fruits instead of apples?
Absolutely! Pears or peaches work great too. Just make sure to adjust the spices to match the fruit you choose.
Can I make these bars gluten-free?
Yes! Simply use a gluten-free flour blend in place of the all-purpose flour.
How do I know when they’re done baking?
Look for a golden-brown topping and soft, tender apples. A toothpick inserted in the center should come out clean.
That’s it—your Salted Caramel Apple Crumble Bars are ready for all the love (and Instagram likes)! Enjoy the cozy vibes and happy baking! 🍏❤️

Salted Caramel Apple Crumble Bars
Ingredients
Method
- Preheat your oven to 375°F (190°C).
- Grab a 9x13 inch baking pan and line it with parchment paper.
- In a large mixing bowl, combine melted butter, sugar, vanilla extract, and salt.
- Slowly add flour and stir until you get a crumbly mix.
- Press about two-thirds of this mixture evenly into the bottom of your prepared pan.
- In a separate bowl, toss your sliced apples with cinnamon and nutmeg, then spread this mixture over your crust.
- Drizzle the salted caramel sauce over the apples.
- Crumble the remaining mixture over the top.
- Bake for 40-45 minutes until the topping is golden brown and the apples are tender.
- Let them cool completely in the pan before slicing into bars.

